
How to Make an Instagram Filter: Your Ultimate Guide
Instagram filters have transformed the way we share our experiences on social media, adding a creative twist to our photos and videos. Whether you're a budding influencer, a business looking to enhance its online presence, or just someone who loves to add an artistic touch to their posts, learning how to make an Instagram filter can be an exciting journey. In this comprehensive guide, we’ll explore the steps, tools, and tips you need to create your very own Instagram filter, ensuring it stands out in the ever-evolving world of social media.
Understanding Instagram Filters
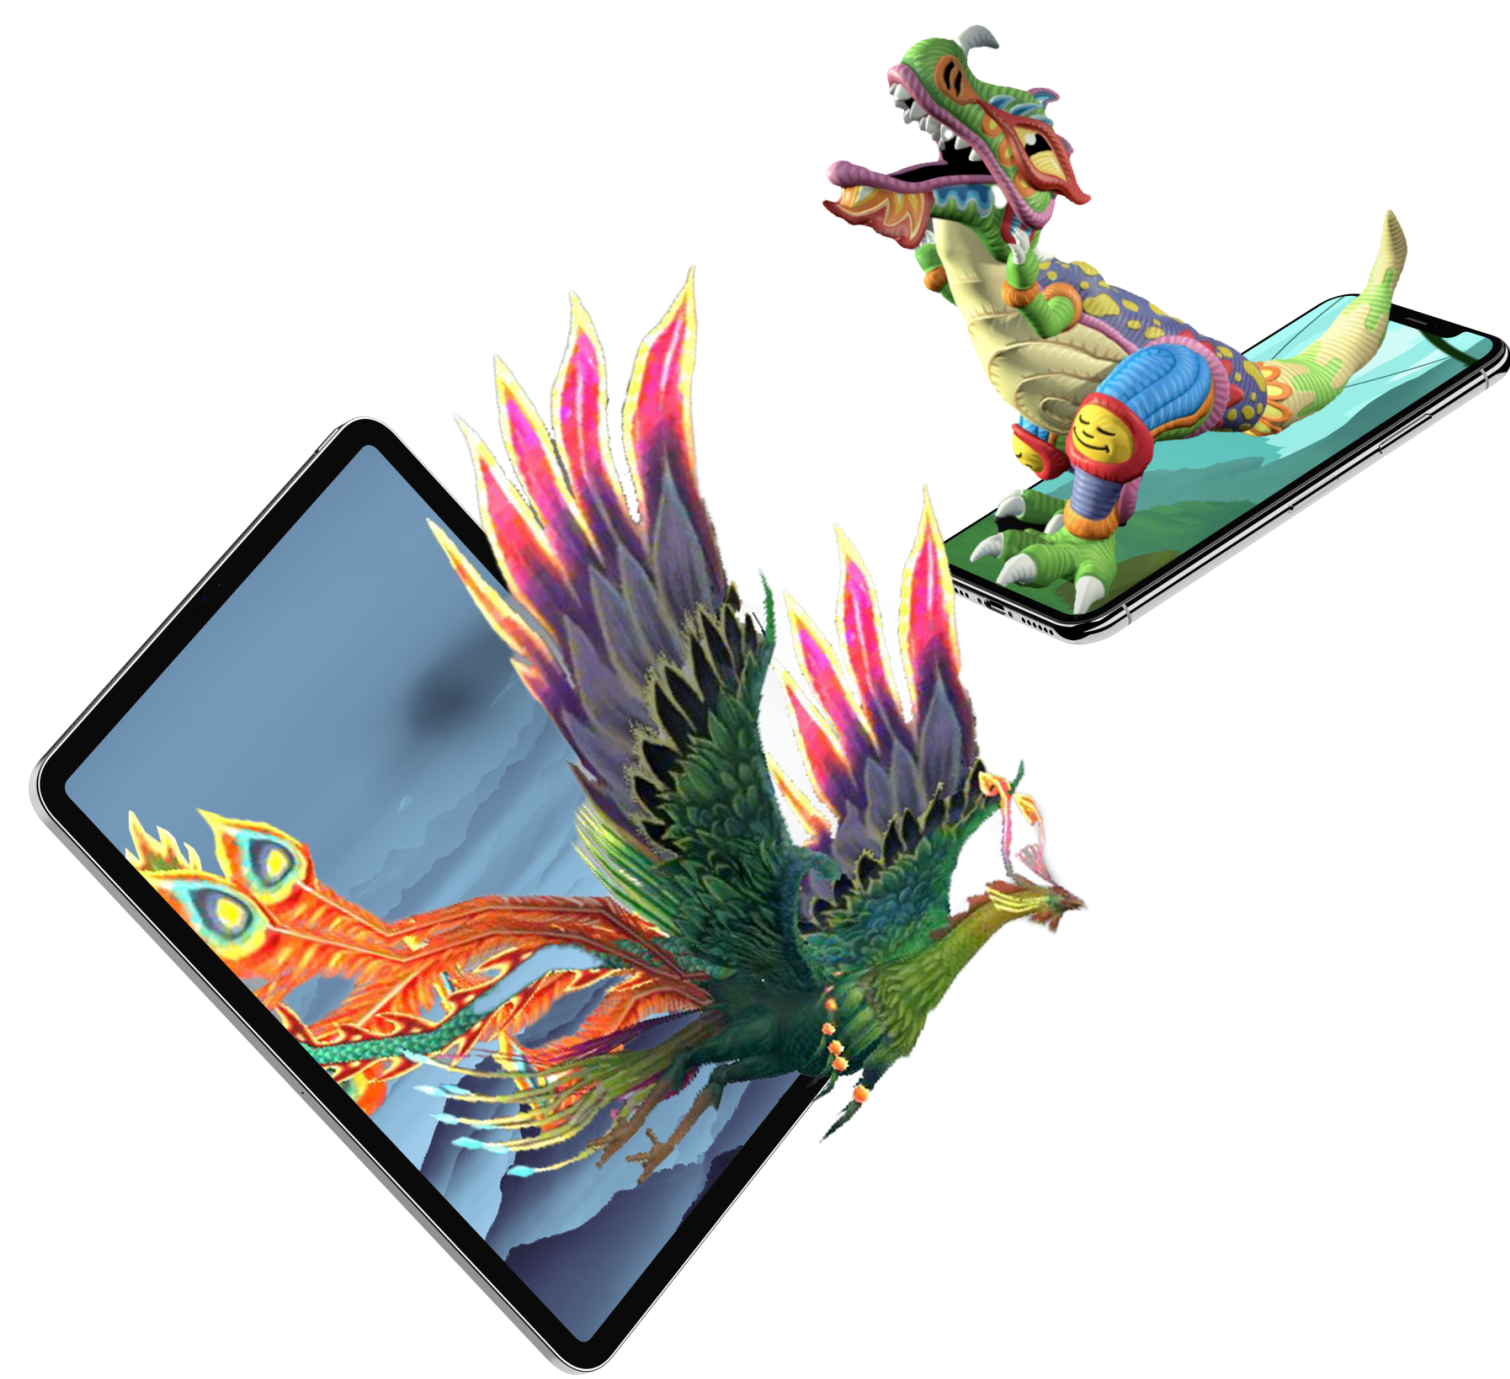
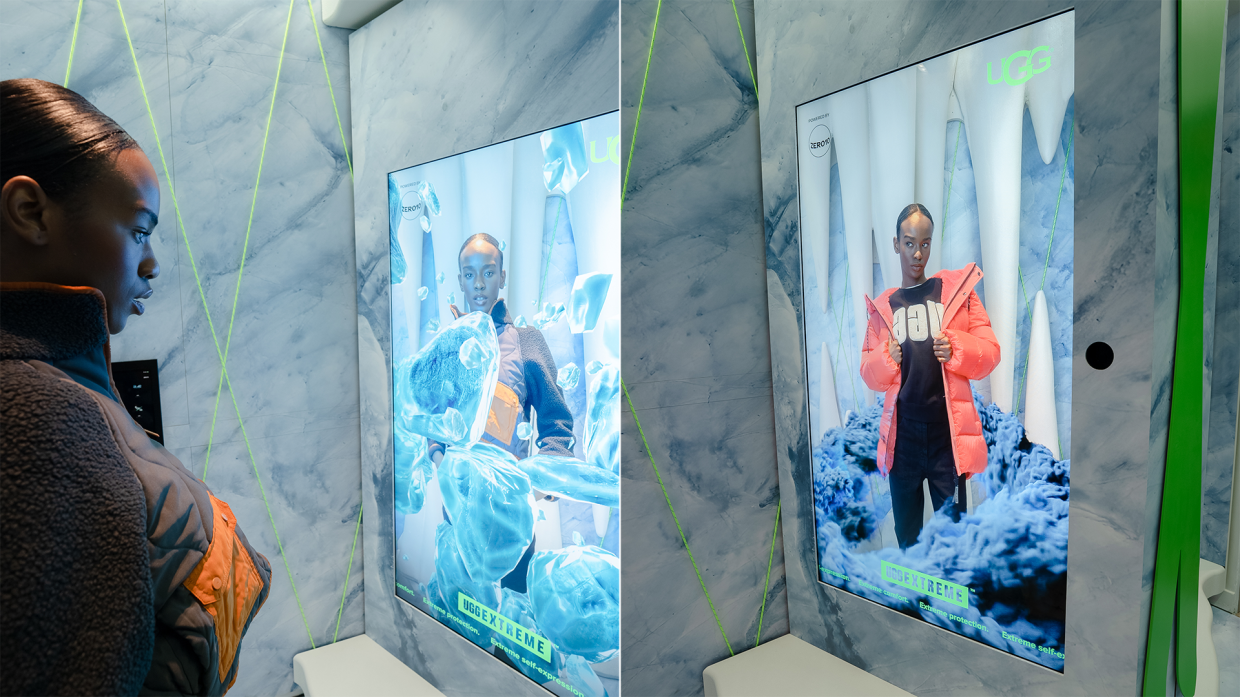
Before diving into creating your own filter, it's essential to understand what Instagram filters are and how they've revolutionized digital storytelling. Instagram filters are augmented reality (AR) effects that users can apply to their photos or videos before sharing them on their stories or feeds. They can range from simple color adjustments to complex overlays that alter facial features or surroundings.
The Impact of Filters on Social Media
Filters have become a significant part of the Instagram experience. They allow users to express themselves in unique ways, creating an engaging and interactive environment. The right filter can turn a mundane photo into a work of art, encourage viewer interaction, and even go viral.
How to Make an Instagram Filter?
Creating an Instagram filter might seem daunting at first, but with the right tools and guidance, it can be a fun and rewarding process. Here’s a step-by-step approach to get you started.
Choosing the Right Software
The primary tool for creating Instagram filters is Facebook's Spark AR Studio. This free software offers a range of capabilities to create custom AR experiences for Instagram. It's user-friendly and provides tutorials to help beginners get started.
Learning Basic AR Concepts
Before you start creating your filter, it's essential to understand basic AR concepts. This includes understanding how AR integrates digital content with the real world, how tracking works, and the basics of 3D modeling.
Designing Your Filter
Designing your filter is where creativity comes into play. Consider what type of filter you want to create: Do you want to change facial features, add virtual objects, or create a mood with color grading?
Gathering Inspiration
Look at popular filters and think about what makes them appealing. Is it their humor, aesthetic appeal, or interactivity? Use these insights to brainstorm ideas for your unique filter.
Building Your Filter in Spark AR Studio
With your design in mind, it's time to start building in Spark AR Studio. Here, you'll import assets, add effects, and test your creation.
Importing Assets
If your design includes custom graphics or 3D models, you'll need to import these into Spark AR Studio. Make sure your assets are optimized for performance to ensure a smooth experience for users.
Testing and Refining Your Filter
Testing is a crucial part of the process. You want to make sure your filter works well in various lighting conditions and on different face shapes and sizes.
Iterating Based on Feedback
After testing, make adjustments based on your observations and feedback from others who try your filter. This iterative process ensures your filter is not only creative but also user-friendly and versatile.
Publishing Your Filter on Instagram
Once you’re satisfied with your creation, it’s time to share it with the world. Here’s how to get your filter live on Instagram.
Navigating the Review Process
Before your filter is available on Instagram, it must go through a review process. This ensures it meets Instagram's guidelines and standards. Be prepared to make necessary adjustments if your filter doesn't pass the review initially.
Marketing Your Instagram Filter
Creating the filter is just the beginning. To get it noticed, you'll need to market it effectively.
Leveraging Social Media
Share your filter on your Instagram story, feed, and other social media platforms. Encourage your followers to try it and share their experiences. Use relevant hashtags to increase visibility.
Tracking the Performance of Your Filter
After publishing your filter, it’s important to monitor its performance. Instagram provides insights that let you track how many times your filter is used and shared.
Using Insights to Improve
Use these insights to understand what works and what doesn’t. This information is valuable for improving current filters and designing future ones.
Advanced Techniques in Filter Creation
Once you’ve mastered the basics, you can explore advanced techniques to make your filters even more engaging.
Experimenting with Animation and Sound
Adding animation and sound can take your filter to the next level. Spark AR Studio offers features that let you incorporate these elements seamlessly.
How to Make an Instagram Filter: A Case Study
Let's look at a real-life example of a successful Instagram filter and the process behind its creation.
Learning from Success Stories
Analyze popular filters and their creators’ strategies. What made these filters go viral, and how can you apply these lessons to your own creations?
Frequently Asked Questions
What software is needed to create an Instagram filter?
To create an Instagram filter, you primarily need Spark AR Studio, which is provided by Facebook.
Can I make an Instagram filter without coding knowledge?
Yes, basic filters can be created in Spark AR Studio without advanced coding skills. The platform offers various tutorials to help beginners.
How long does the Instagram review process take for a new filter?
The review process can vary, but typically it takes a few days to a week for Instagram to approve a new filter.
Is it possible to track how many people use my Instagram filter?
Yes, Instagram provides insights that allow you to see how many times your filter has been used and shared.
Can I update my Instagram filter after it’s published?
Yes, you can update your filter. However, the updated version will need to go through the review process again.
Conclusion
Creating an Instagram filter is a journey of creativity, technical skill, and marketing. By understanding the tools, design principles, and strategies for success, you can create filters that not only enhance your photos but also engage and inspire your audience. Remember, the world of social media is constantly evolving, and with these skills, you're well-equipped to be a part of that change.
TALK TO A PRO
We're here to bring your brand to life!
Stay Connected with BrandXR
Create Augmented Reality for Free!
Create, Publish, and Measure 3D Augmented Reality Experiences Without Having to Code.


SUPPORT
Detroit
Saudi Arabia
GET THE APP


LET'S CONNECT