How Brands Can Create Their Own Snapchat AR Branded Lenses
Introduction
In today's digital age, engaging with consumers through innovative and interactive means is crucial for brands aiming to enhance their visibility and engagement. Augmented Reality (AR) is a powerful tool, especially through platforms like Snapchat. Snapchat AR branded lenses offer a unique opportunity for brands to connect with their audience in a fun and immersive way. This guide will explore how brands can create their own Snapchat AR branded lenses, providing a step-by-step approach to harnessing this technology to boost marketing efforts.
Understanding Snapchat AR Lenses
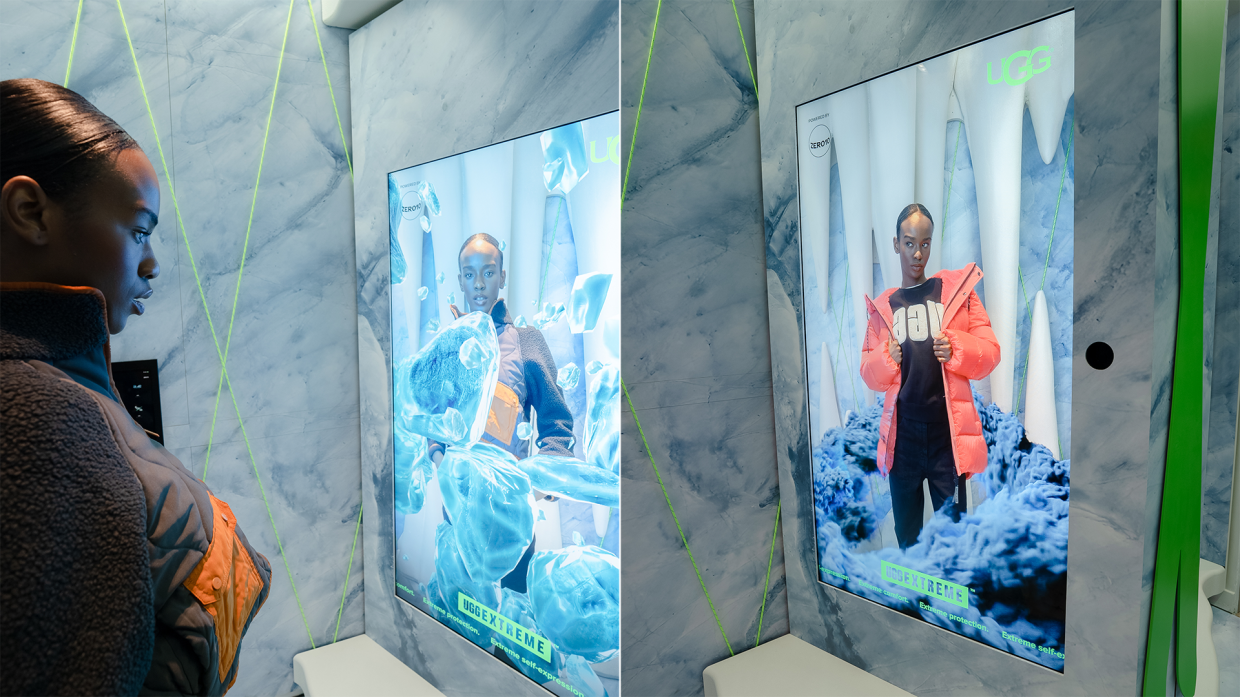
Snapchat AR lenses are interactive filters that use Augmented Reality to alter images and videos by adding 3D digital effects and animations in real-time. These lenses can transform a user’s face or environment, offering engaging and playful experiences directly from the Snapchat app. For brands, these lenses provide a creative avenue to showcase products, promote events, or increase brand awareness among Snapchat’s predominantly young audience.
Step 1: Define Your Objectives
Before diving into lens creation, it's crucial for brands to clearly define what they want to achieve with their AR lens. Whether promoting a new product, increasing brand awareness, or driving event engagement, the goal will dictate the lens's design and functionality.
Key Considerations:
- Target audience: Tailor the lens design to appeal to the demographic characteristics of Snapchat users.
- Brand message: Ensure the lens conveys your brand’s message or promotes your product effectively.
Step 2: Design Your Lens
The design phase is critical in creating an AR lens that is visually appealing and engaging. Brands should focus on originality and relevance to their target audience.
Design Tips:
- Use vibrant colors and engaging animations that reflect your brand’s style.
- Include interactive elements that encourage users to play with the lens.
- Ensure the lens is lightweight and fast-loading to enhance user experience.
Step 3: Use Snapchat’s Lens Studio
Snapchat’s Lens Studio is a powerful desktop app that allows anyone to create AR lenses for Snapchat. It provides various templates and tools that make AR creation accessible, even for those without extensive coding knowledge.
How to Use Lens Studio:
- Download and install Lens Studio from Snapchat’s official website.
- Choose a template that suits your brand’s lens objective.
- Utilize the visual programming environment to add effects, animations, and sounds.
- Test your lens using the preview feature to ensure it works well across different face shapes and lighting conditions.
Step 4: Test and Iterate
Testing is a crucial step in the AR lens creation process. Brands should thoroughly test the lens to ensure it functions correctly and is well-optimized for user interactions.
Testing Checklist:
- Compatibility with different device types and operating systems.
- User engagement and ease of use.
- Load time and performance stability.
Step 5: Submit and Promote Your Lens
Once your lens is ready, you can submit it to Snapchat for approval. After approval, planning a strategic launch that maximizes visibility and engagement is vital.
Promotion Strategies:
- Leverage social media platforms to announce the launch of the new lens.
- Encourage influencers and Snapchat users to share their experiences using the lens.
- Integrate the lens into a broader marketing campaign to boost engagement.
Conclusion
Creating a Snapchat AR branded lens offers a unique opportunity to engage interactively with a broad audience, particularly the younger demographics on Snapchat. By following these steps and utilizing Snapchat's Lens Studio, brands can create captivating AR experiences promoting their products and enhancing brand visibility in an increasingly digital world.
TALK TO A PRO
We're here to bring your brand to life!
Stay Connected with BrandXR
Create Augmented Reality for Free!
Create, Publish, and Measure 3D Augmented Reality Experiences Without Having to Code.


